


In today's world of web development, security is paramount. Authentication, the process of verifying the identity of a user or system, plays a crucial role in ensuring that only authenticated users gain access to resources. With the advent of .NET 7 Minimal APIs, implementing authentication using JwtBearer has become more straightforward and efficient than ever before.
What is JwtBearer Authentication?
JwtBearer authentication involves using JSON Web Tokens (JWT) as a means of securely transmitting information between parties. It allows users to authenticate by verifying the token provided against a predefined set of keys and settings. This method is widely adopted due to its stateless nature and ability to transmit compact yet verifiable information.
Setting up Authentication in .NET 7 Minimal APIs
Step 1: Create a .NET 7 Minimal API Project
To begin, create a new .NET 7 Minimal API project using your preferred IDE or the .NET CLI.
dotnet new web -n MyAuthApi
Step 2: Install Required Packages
Open the project in your favorite IDE or code editor, VSCode in my case. Install the necessary packages to enable JwtBearer authentication in your project:
dotnet add package Microsoft.AspNetCore.Authentication.JwtBearer --version 7.0.14
Step 3: Configure JwtBearer Authentication
In your Program.cs file, configure JwtBearer authentication in the service container:
var builder = WebApplication.CreateBuilder(args);
// JWT bearer authentication performs authentication by extracting
// and validating a JWT token from the Authorization request header.
builder.Services.AddAuthentication().AddJwtBearer();
builder.Services.AddAuthorization();
var app = builder.Build();
app.UseAuthentication();
app.UseAuthorization();

app.MapGet("/", () => "Hello World!");

app.Run();
Step 4: Protect Endpoints with Authorization
Created a second endpoint and chain RequireAuthorization():
var builder = WebApplication.CreateBuilder(args);
builder.Services.AddAuthentication().AddJwtBearer();
builder.Services.AddAuthorization();
var app = builder.Build();
app.UseAuthentication();
app.UseAuthorization();

// Public
app.MapGet("/", () => "Hello World!");

// Secured
app.MapGet("/protected", () => "I am protected").RequireAuthorization();

app.Run();
Step 5: Test Authentication
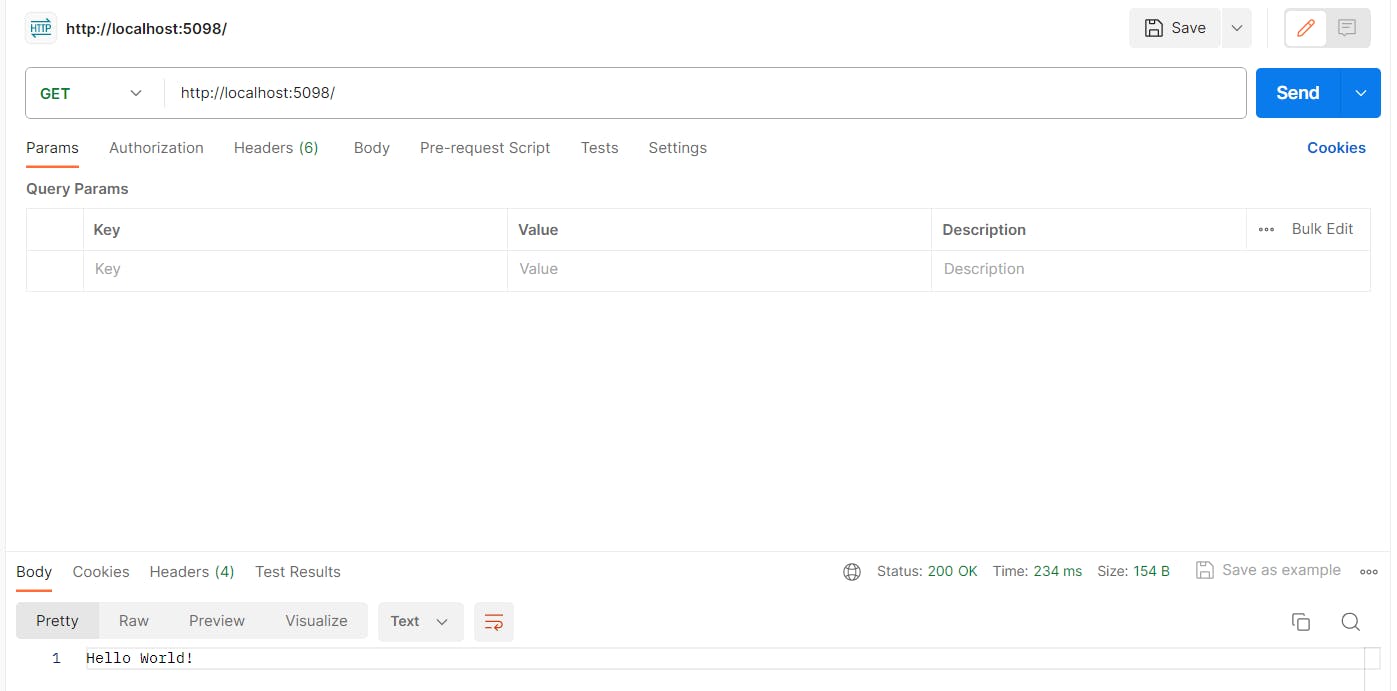
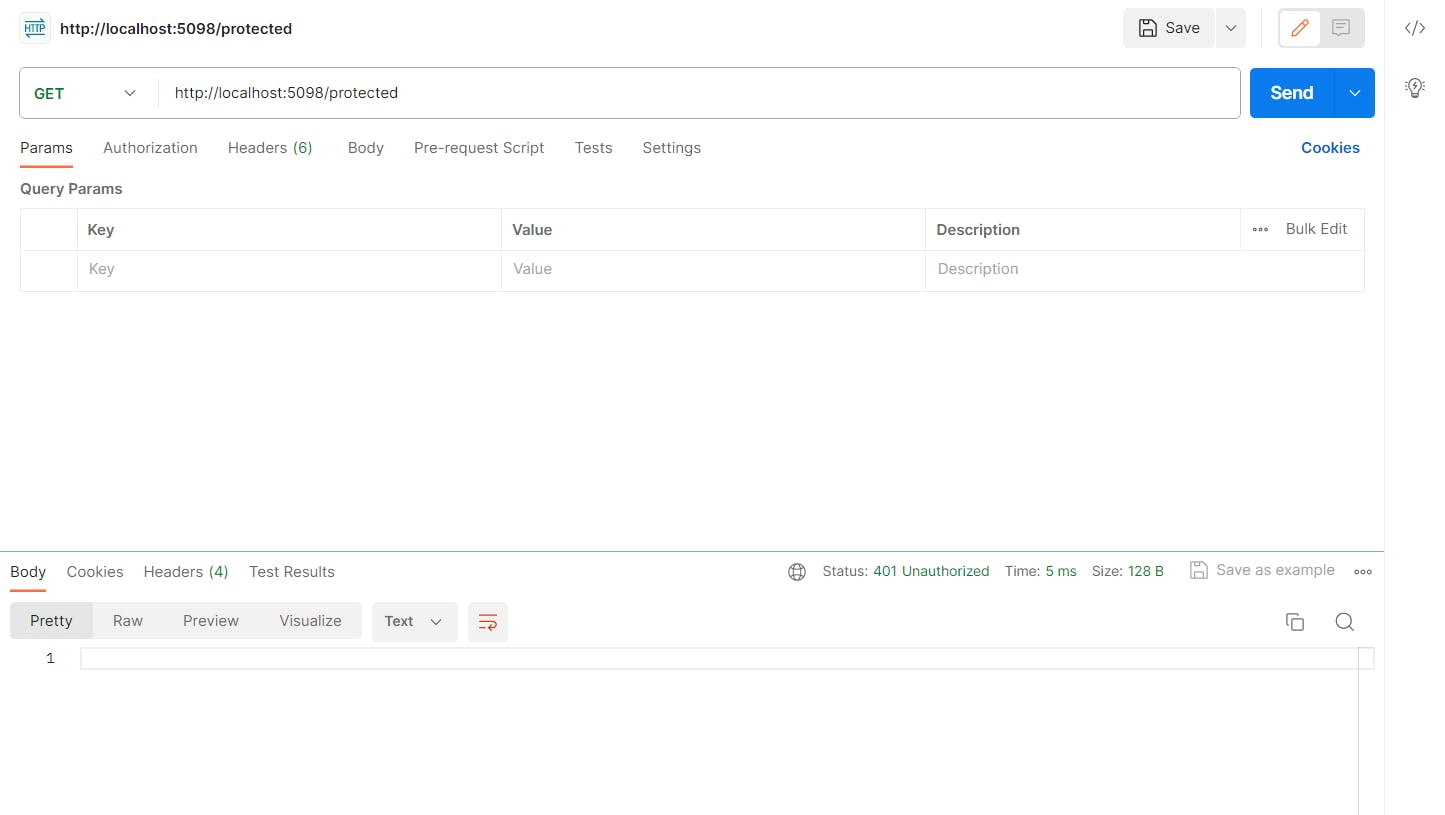
Test your authentication setup by sending requests to your protected endpoints without JWT tokens. Ensure that unauthorized access is appropriately handled.
You can see first endpoint is called successfully.
Here you see that we are getting 401 Unauthorized response, as we are not passing JWT.
Step 5: Generating JWT Tokens
For local development, we can generate JWTs as mentioned in docs
dotnet user-jwts create
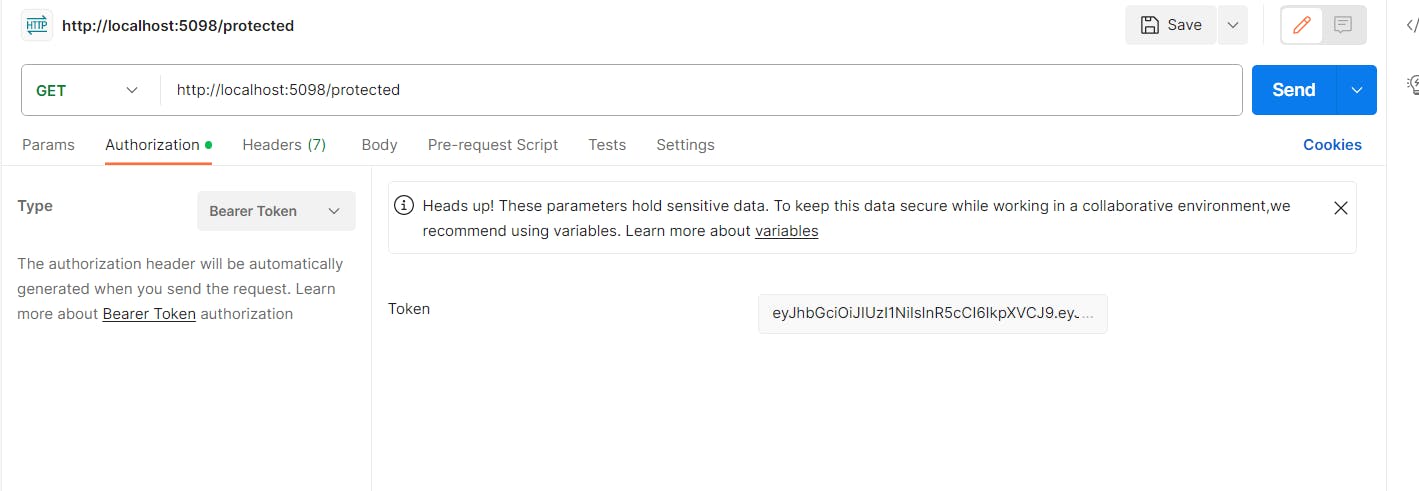
copy the token printed to the console by the above command, and use it in Postman as shown below
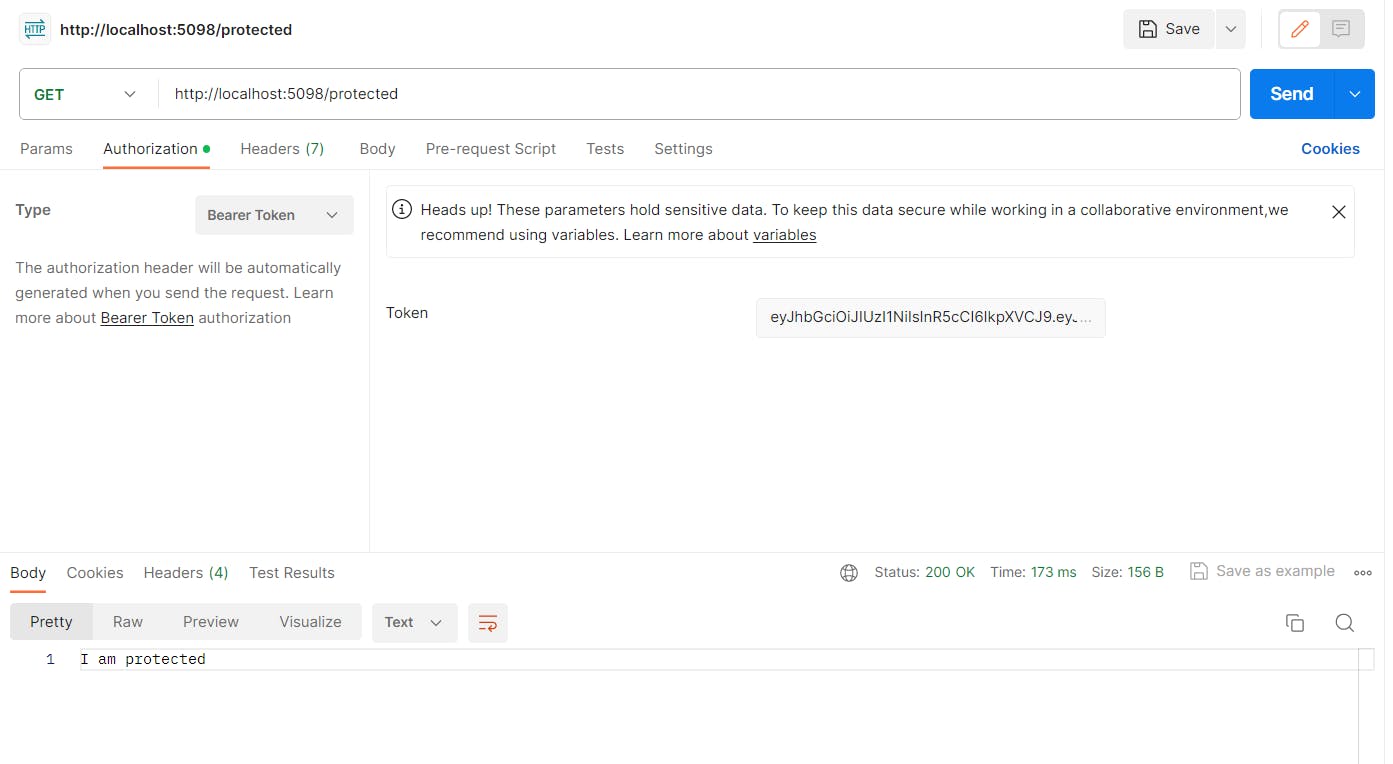
Once you use JWT, you will get a 200 OK response.
Conclusion
Implementing JwtBearer authentication in .NET 7 Minimal APIs provides a robust way to secure your applications and APIs. By following these steps and customizing them to fit your specific use case, you can ensure that only authenticated users access your resources, enhancing the overall security of your application. You can read more here in docs.
Stay secure, stay coding! Happy authenticating!